Installation Steps of Water Purifiers: You Can Do It Yourself Easily!
Installing a water purifier might seem like a daunting task, but with the right guidance,
it can be a breeze. First and foremost, gather all the necessary tools, which usually
include a screwdriver, wrench, and pliers. Make sure to turn off the water supply
to your home before starting the installation.
This is a crucial safety step to prevent any water leakage during the process.
it can be a breeze. First and foremost, gather all the necessary tools, which usually
include a screwdriver, wrench, and pliers. Make sure to turn off the water supply
to your home before starting the installation.
This is a crucial safety step to prevent any water leakage during the process.
Next, carefully unpack the water purifier and all its components.
Check if there are any damages or missing parts. If everything is in order,
locate the appropriate installation location. It is advisable to choose a place that is close
to a water source and has a stable surface. For under – sink installations,
ensure that there is enough space and proper drainage.
Begin by connecting the inlet pipe of the water purifier to the water source.
Use the provided connectors and tighten them securely with a wrench.
Then, connect the outlet pipe to the faucet or the storage tank,
depending on the type of water purifier. Make sure all the connections are leak – proof.
Use the provided connectors and tighten them securely with a wrench.
Then, connect the outlet pipe to the faucet or the storage tank,
depending on the type of water purifier. Make sure all the connections are leak – proof.
After the pipes are connected, install the filter cartridges. Different types
of water purifiers have different cartridge installation methods.
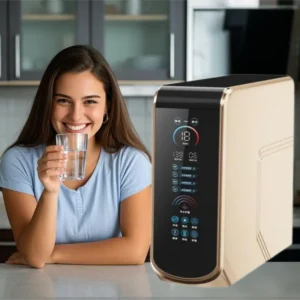
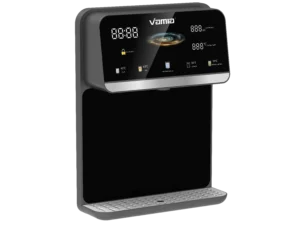
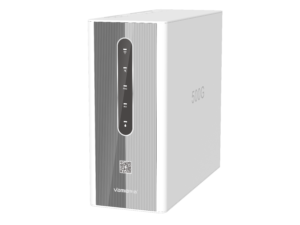
Water Purifier Factory, Water Purifier For Home, Water Purifier Machine,Water Purifier, Water Filter Purifier System
of water purifiers have different cartridge installation methods.
Water Purifier Factory, Water Purifier For Home, Water Purifier Machine,Water Purifier, Water Filter Purifier System
Some require simple twisting and locking, while others may need to
be inserted and then secured. Follow the manufacturer’s instructions carefully.
Finally, turn on the water supply slowly and check for any leaks around
the connections. Let the water run through the purifier for a few minutes to
flush out any impurities in the system. Your water purifier is
now installed and ready to provide clean, healthy water for you and your family.
the connections. Let the water run through the purifier for a few minutes to
flush out any impurities in the system. Your water purifier is
now installed and ready to provide clean, healthy water for you and your family.
Installation Steps of Water Purifiers: You Can Do It Yourself Easily!